Serial Port Programming in Swift for MacOS
This tutorial explains how you can program the serial port in Swift. We guide you through a reference implementation for your own projects including all practical steps. The main prerequisite for this tutorial is that you have installed CocoaPods.
1. Background Information
A simple serial port program has three main functions. First it should init the serial port, and then it should read data from the serial port and transmit data read from the serial port. The latter requirement means that two processes are necessary running simultaneously.
In a Unix environment a serial port is accessed via a file descriptor. This means a terminal program uses the file access API to read and write data to a serial port. The serial port handle is available in /dev and has the prefix cu, which stands for calling-unit. To access the serial port, this handle is just opened as an ordinary file. The opened serial port file descriptor also conforms to the TTY API for setting serial port specific settings like baudrate.
This tutorial describes how to implement the simple serial port program in OS X in Swift. Accessing a serial port in OS X requires the use of three API’s: IOKit, common BSD file handling APIs and BSD TTY APIs. The first two are reasonably easy to use from Swift, but the third does not import quite well. The BSD TTY APIs uses complex macros and varargs which are not supported by Swift directly. The obvious choice is to use an Objective-C or C wrapper as we also will do in this tutorial. We could write our own wrapper, but luckily, an excellent serial port library exists. This library is ORSSerialPort which provides a great API for using serial ports in OS X. The last nice feature of the ORSSerialPort library is that it also handles the threading related to using the serial port.
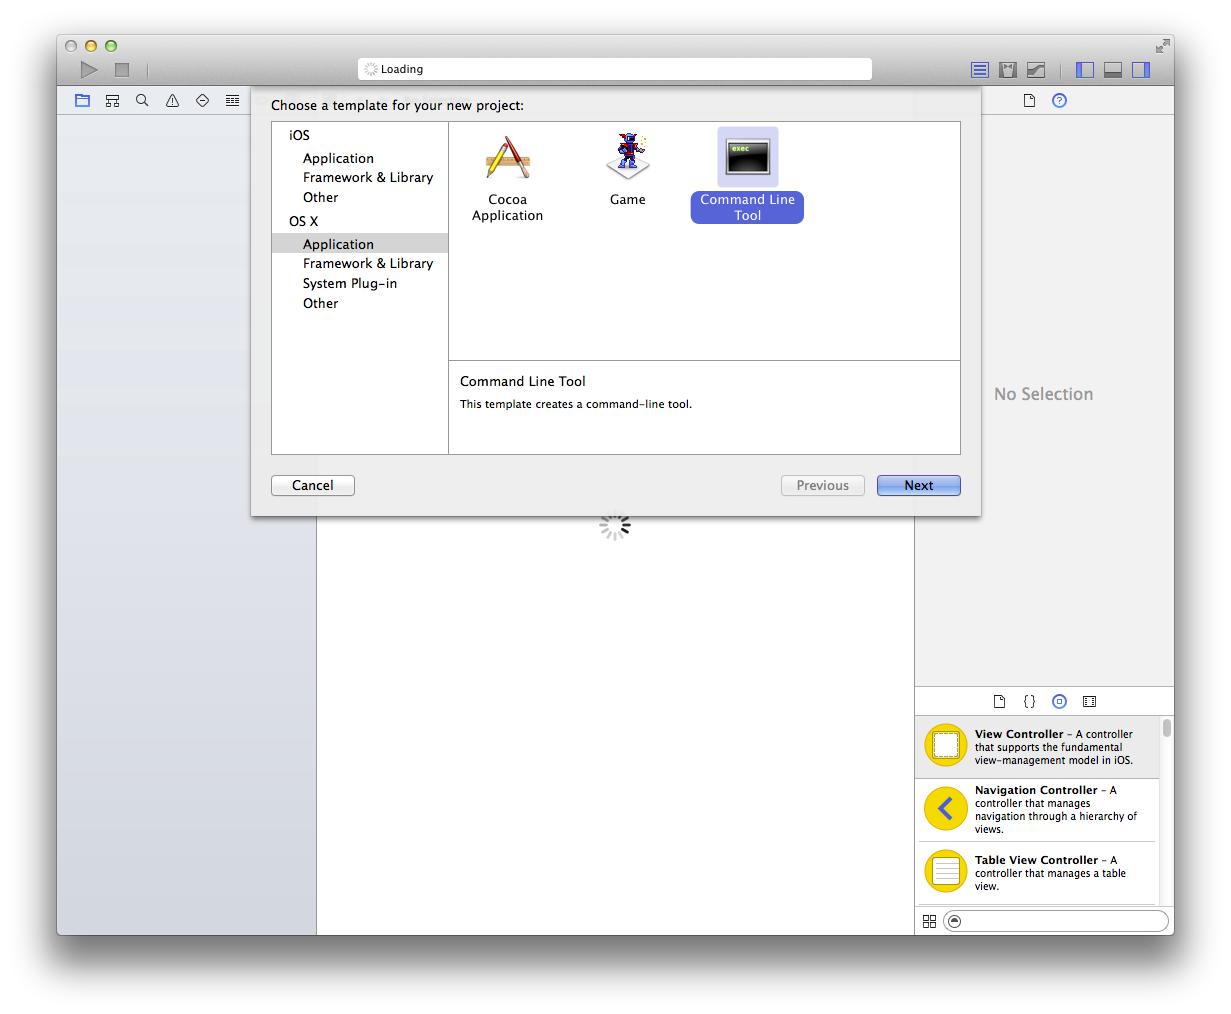
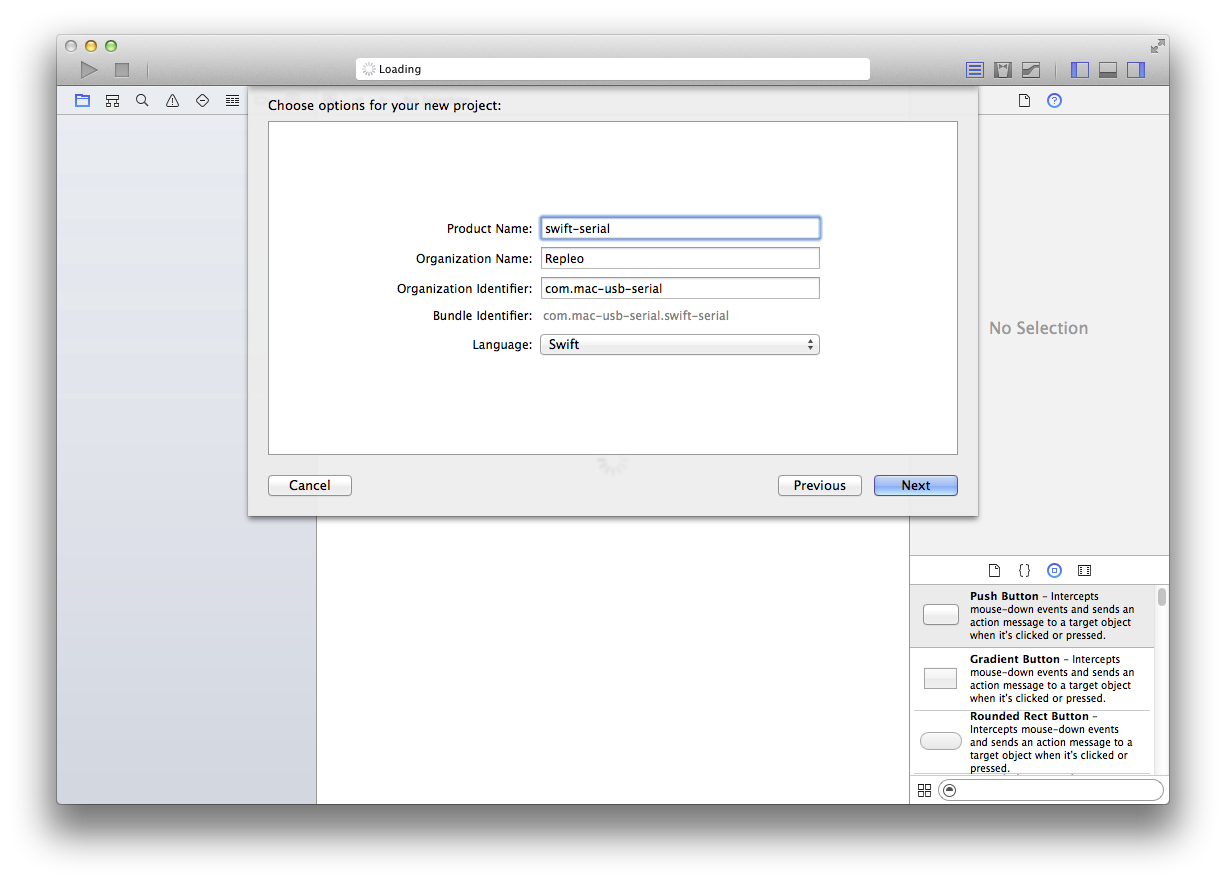
2. Setting up Xcode
Start Xcode, and create a new Command Line project for OS X.
3. Import ORSSerialPort
touch Podfile
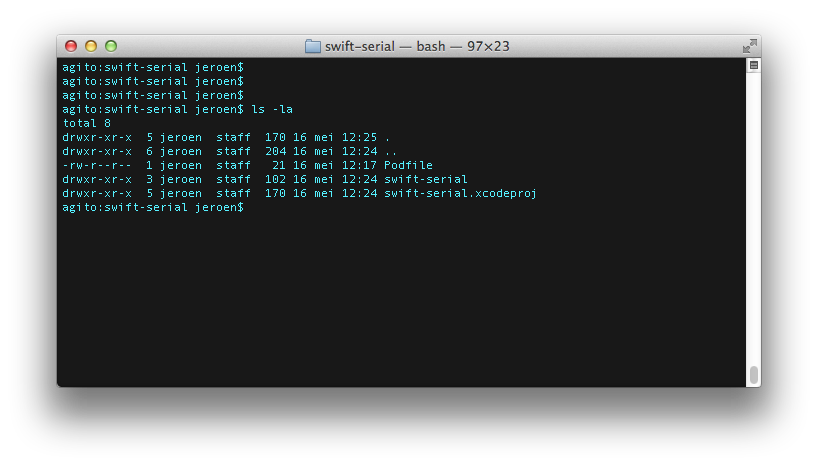
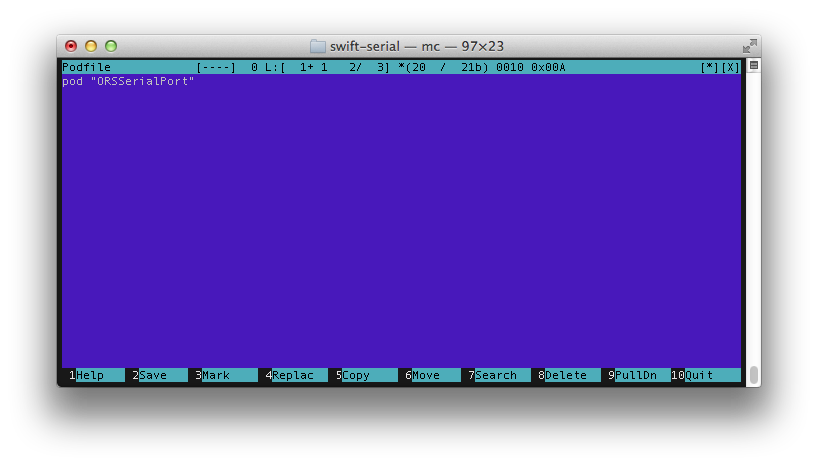
Edit the file and add the line:
pod "ORSSerialPort"
pod update
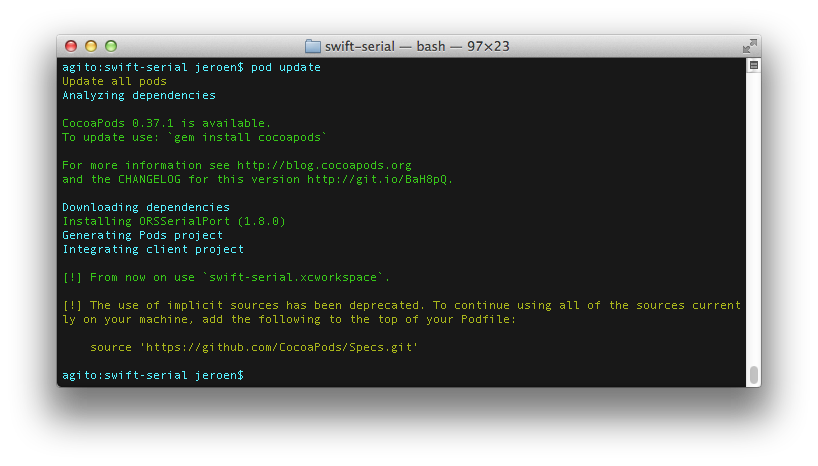
During downloading the dependencies CocoaPods creates an Xcode workspace project. Close your earlier created project, and reopen the workspace file. Xcode should now open with a new folder “Pods” containing the ORSSerialPort.
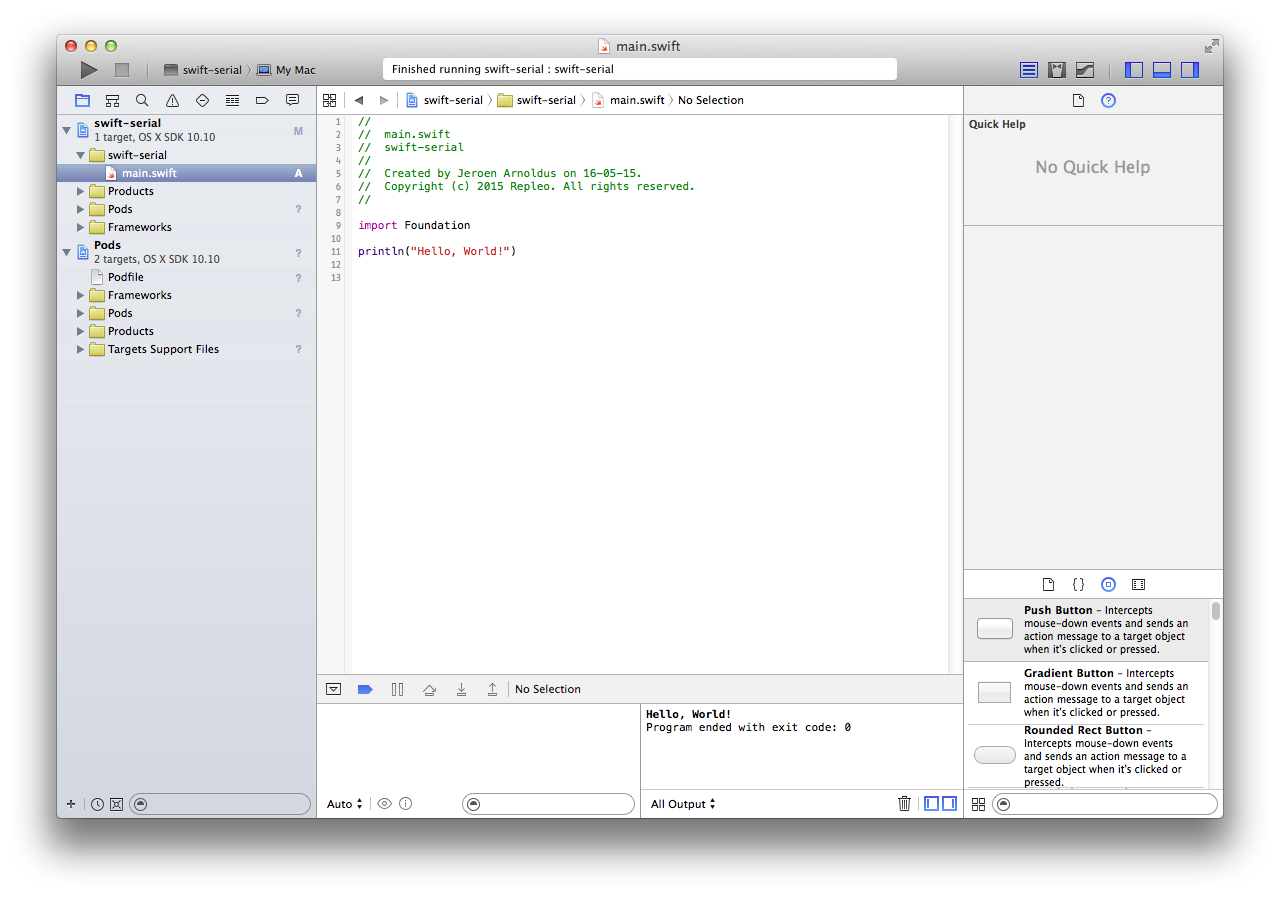
Try to run the project, it should print “Hello World!”. Note, the ORSSerialPort library uses the newest API functionality of Apple, like NS ASSUME NONNULL and nullable. in case you use XCode prior to 6.3.2 you need to disable the NS ASSUME NONNULL BEGIN and NS ASSUME NONNULL END macros and remove the ‘nullable’ property in de ORSSerialPort source code.
4. Hooking Objective-C code to your Swift project
To use the ORSSerialPort library in your Swift code you need to link it via a bridge header. First add a new header file to your project.
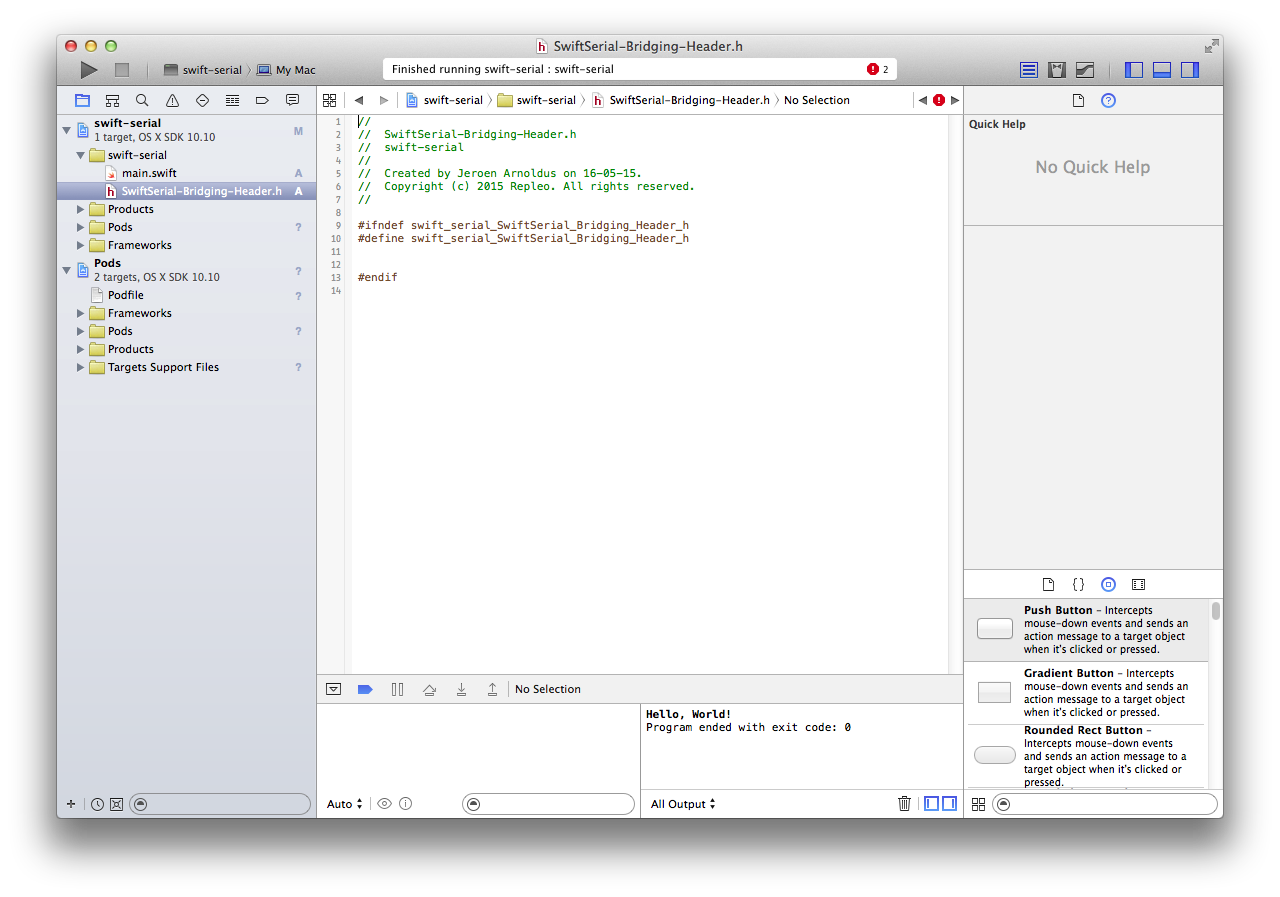
Add the following lines to this bridge header file:
#import "ORSSerialPort.h"
#import "ORSSerialPortManager.h"
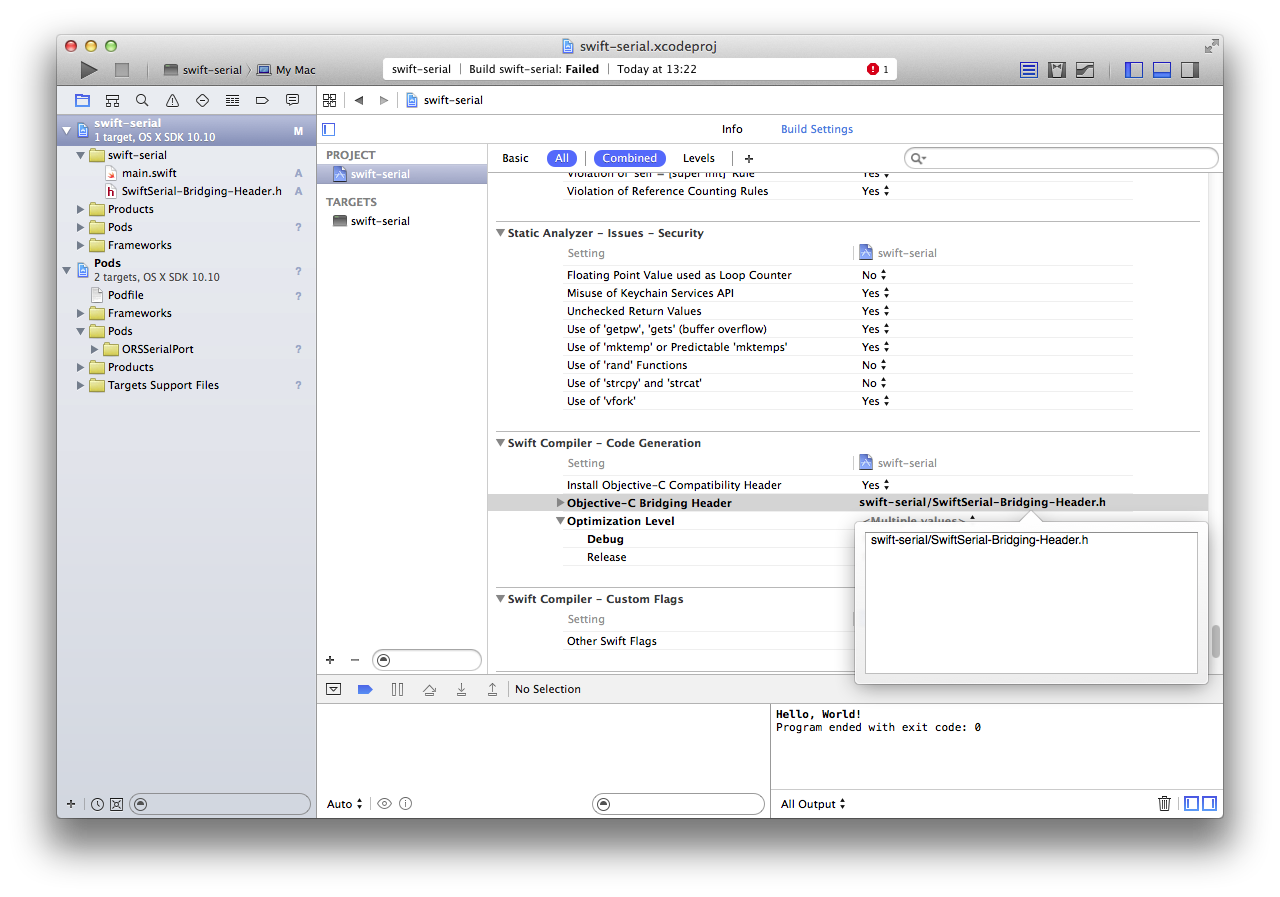
Second, you need to tell the compiler to use this bridge header in the linking process. Under the project Build Settings, set the Objective-C Bridging Header build setting under Swift Compiler - Code Generation to the path of the header relative to the project root.
Try tool compile the project to see if it still works.
5. The Serial Terminal Program
You are now ready to access the serial port from Swift. We removed all the serial device detection code in this example, but it is not hard to add our example, or use the ORSSerialPortManager provided by ORSSerialPort.
The complete source of the simple serial program for Swift:
class SerialHandler : NSObject, ORSSerialPortDelegate {
    let standardInputFileHandle = NSFileHandle.fileHandleWithStandardInput()
    var serialPort: ORSSerialPort?

    func runProcessingInput() {
        setbuf(stdout, nil)

        standardInputFileHandle.readabilityHandler = { (fileHandle: NSFileHandle!) in
            let data = fileHandle.availableData
            dispatch_async(dispatch_get_main_queue(), { () -> Void in
                self.handleUserInput(data)
            })
        }

        self.serialPort = ORSSerialPort(path: "/dev/cu.Repleo-PL2303-00401414") // please adjust to your handle
        self.serialPort?.baudRate = 9600
        self.serialPort?.delegate = self
        serialPort?.open()

        NSRunLoop.currentRunLoop().run() // loop
    }


    func handleUserInput(dataFromUser: NSData) {
        if let string = NSString(data: dataFromUser, encoding: NSUTF8StringEncoding) as? String {

            if string.lowercaseString.hasPrefix("exit") ||
                string.lowercaseString.hasPrefix("quit") {
                    println("Quitting...")
                    exit(EXIT_SUCCESS)
            }
            self.serialPort?.sendData(dataFromUser)
        }
    }

    // ORSSerialPortDelegate

    func serialPort(serialPort: ORSSerialPort, didReceiveData data: NSData) {
        if let string = NSString(data: data, encoding: NSUTF8StringEncoding) {
            print("\(string)")
        }
    }

    func serialPortWasRemovedFromSystem(serialPort: ORSSerialPort) {
        self.serialPort = nil
    }

    func serialPort(serialPort: ORSSerialPort, didEncounterError error: NSError) {
        println("Serial port (\(serialPort)) encountered error: \(error)")
    }

    func serialPortWasOpened(serialPort: ORSSerialPort) {
        println("Serial port \(serialPort) was opened")
    }
}


println("Starting serial test program")
println("To quit type: 'exit' or 'quit'")
SerialHandler().runProcessingInput()
How does it works: First, a SerialHandler class is defined, which implements the ORSSerialPortDelegates. When this class is initialized, it setups a stdin reader. This reader calls the “handleUserInput” function to send the received data to the serial port. Second, it setups the serial port and adds itself as delegate to the serial port object provided by ORSSerialPort. This Delegate handles all the events of the serial port. The function “serialPort” will be called if the serial port receives data. Last step is that it keeps itself in a loop to listen to all incoming data.
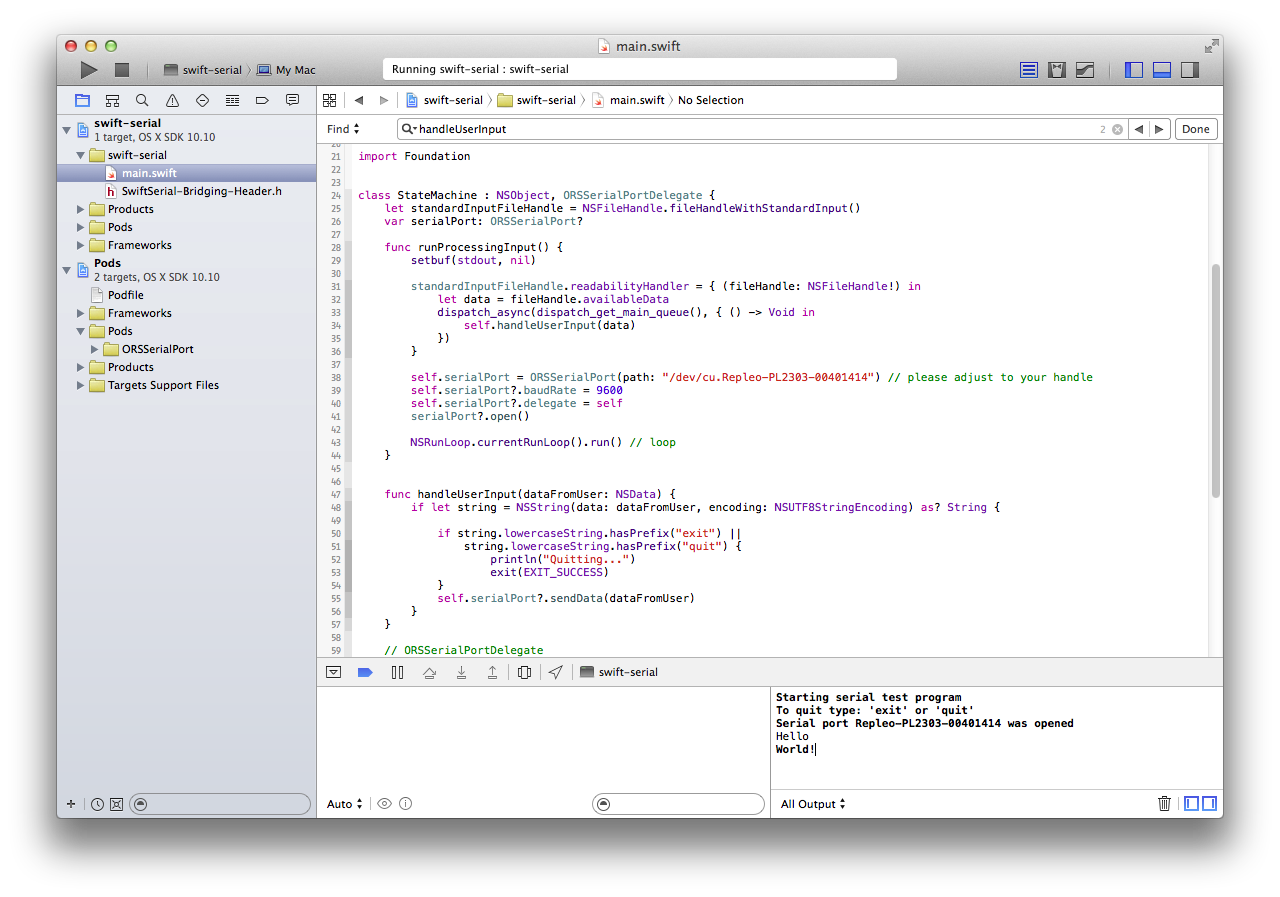
You should adjust the handle in this code to the filename of your serial device. When you run the tool you should be able to send and receive data:
6. Downloads
You can download the code from GitHub via: https://github.com/bjarnoldus/osx-swift-serial